Currently, we are in the midst of a major backyard overhaul. When we bought this house we loved the size of the backyard but that was about it. We knew that it was going to be a big project for us but felt that we were up to the challenge. We also knew that this was going to be one of the first projects we needed to save up for since our kids love, LOVE to play outside. I was/am tired of everyone tracking enormous amounts of dirt into the house, of Elin feasting on the dirt every chance she gets, Luke complaining of 'owies' on his feet when he decides to ditch his shoes and run barefoot... the list goes on and on.
We had/have big plans for this space. Once we returned from our trip to Chicago we decided that July would be a good month to start on our backyard. And why not? Its only southern California with baking sunshine and triple digit temperatures - perfect timing!
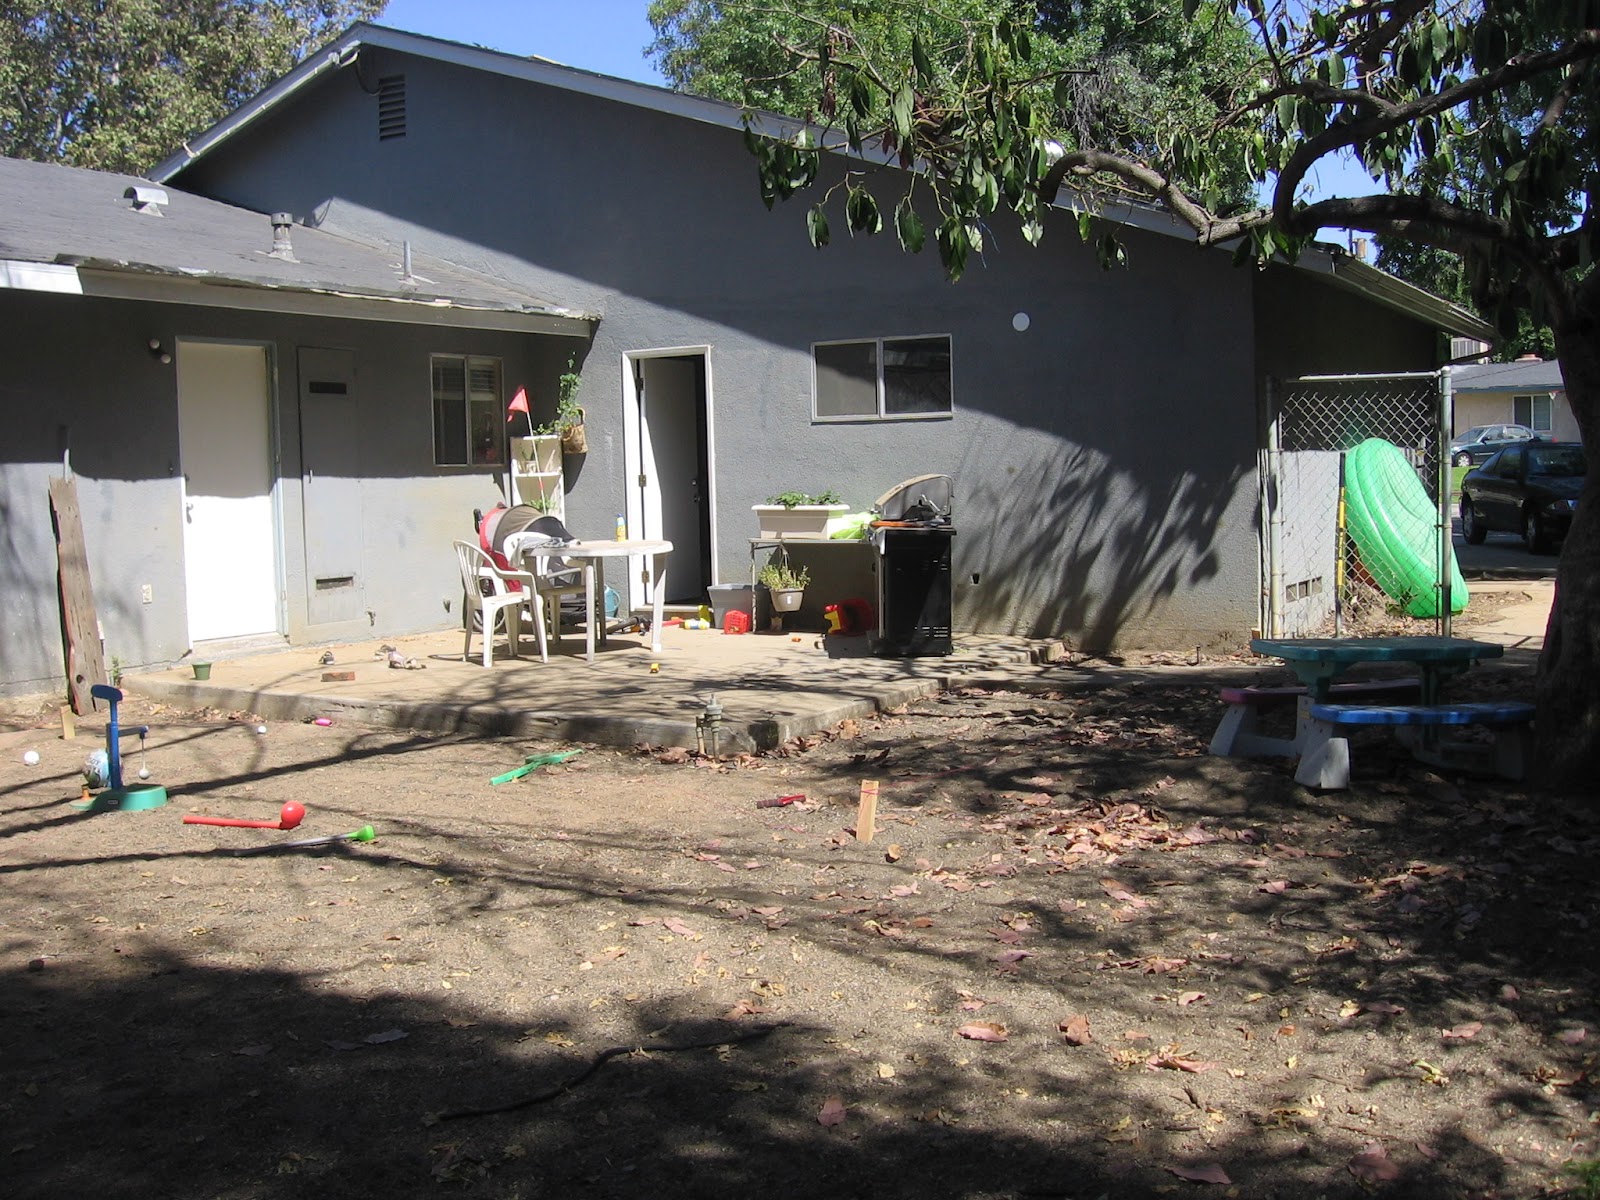
First on our list for the backyard makeover was the patio. If you ever wanted to know how to install a paver patio yourself, well, let me tell you. We are experts now, no doubt about it. ;)
First, you start with an 'ugly-as-sin' concrete patio and a dream to make it into something beautiful.
Next, you dig out the area that will create a walkway from the upper lawn to the lower lawn. (did I mention that our lawn has 2 levels? It does.) Hint: smart people rent machines like a bobcat to dig out such areas. We were not smart and dug it out by hand - not recommended.
Hack away with a pick ax...

then shovel loosened dirt and clay to the side.

When you get tired/sore, convince your wife that she's a natural and hand over the tools.


Take out all your pent up aggression on a concrete step using brute force and a sledge hammer. Protective eyewear is a must - sunglasses work just fine.

Next, clear the area surrounding the existing patio, preparing it for an extension of pavers. Show just how manly you are by ripping the roots out of the ground with your bare hands.


On the upside, your children will be very entertained by the dump trucks unloading all items. So I suppose its a trade off.


Next, use a tamper machine (oh so smartly rented from the Home Depot) to pound all the gravel into place and make level.

Post 'tamping' :


Then lay the pavers...

And more pavers...

some more sand....

And more pavers.

And more pavers

And more pavers

And more pavers.

And more pavers.
Hint: It helps to have your mother/mother-in-law around for this project - helpful on SO many levels!

Make sure to make a cheesy smile for the pounding of the last paver.

When all the pavers are in place you need to sweep sand over the surface. The sand will seep into the cracks between the bricks and keep them from shifting. Hint: child labor (while not technically legal) is a good way to go. ;)

When it is all said and done, you have a nice, new patio to be proud of!

And while there is only one picture of me actually working, I promise you that I did my share of shoveling, hauling, laying pavers, and sweeping. I wasn't about to let Matt have all the fun! :)


